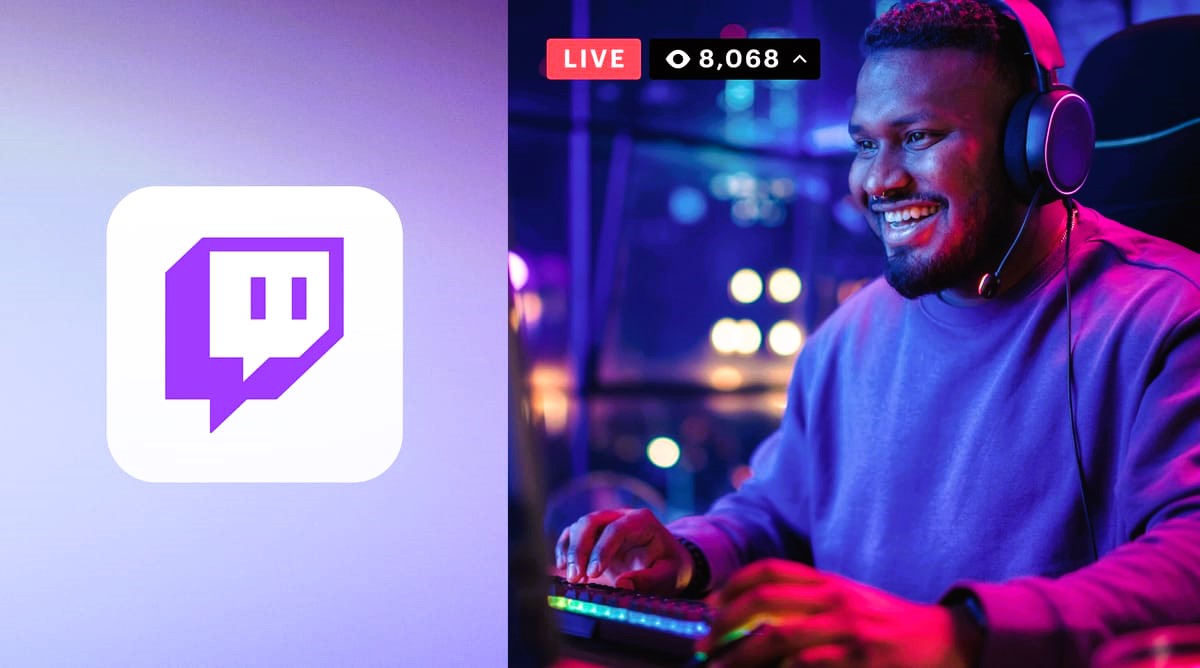
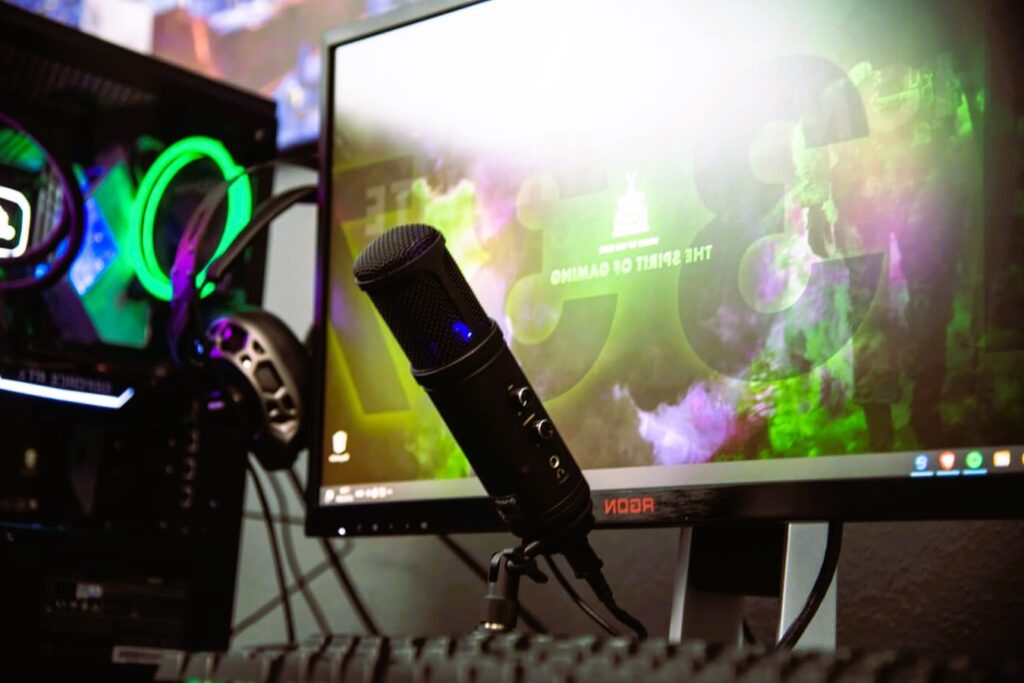
So, you’ve got a slick gaming website, but it’s missing that extra spark—the ability to showcase your Twitch streams front and center. Whether you’re a streamer looking to lock in more viewers, a gaming community building an interactive hub, or an esports org trying to boost engagement, embedding Twitch is a power move.
Let’s break it down step by step so you can get that live content rolling without a hitch.
Why Integrate Twitch on Your Gaming Website?
Before we dive into the nuts and bolts, let’s talk about why this is worth your time:
- Increased Engagement – Live streams keep visitors on your site longer, boosting retention.
- Community Growth – Real-time interaction fosters a stronger connection with your audience.
- More Monetization Opportunities – More views mean better chances for subs, donations, and sponsorships.
- Professional Aesthetic – A well-integrated Twitch feed makes your website look legit and dynamic.
Now, onto the fun part.
Step 1: Embedding Your Twitch Channel
Twitch makes this ridiculously easy with its built-in embed functionality. Here’s what you do:
- Grab Your Twitch Embed Code
- Head to Twitch’s developer page.
- Copy the iframe embed code for your channel.
- Paste It into Your Website
- If you’re using WordPress, simply add a Custom HTML block and paste the code.
- For custom sites, drop it into your
<body>tag where you want it to appear.
- Adjust the Size and Styling
- You can modify the
widthandheightattributes in the iframe to fit your design.
- You can modify the
Step 2: Adding a Live Now Indicator
Want visitors to know when you’re live without them having to check Twitch? Here’s how:
- Use the Twitch API – The API lets you fetch your live status.
- Set Up an AJAX Script – This will check your stream status every few minutes.
- Update the UI – Display a glowing “LIVE” badge when you’re online.
For an easier approach, use a Twitch plugin if you’re running a CMS like WordPress. Read more about how Cyberpunk 2077 became a gaming legend in our article.
Step 3: Embedding a Twitch Chatbox
A stream without chat feels empty. Here’s how to integrate it:
- Copy the Twitch Chat Embed Code
- Use this iframe snippet:
<iframe src="https://www.twitch.tv/embed/YOUR_CHANNEL/chat" height="500" width="350"></iframe>
- Use this iframe snippet:
- Place It Next to Your Stream
- A two-column layout works best.
- Adjust width and height as needed.
This keeps the conversation alive on your site while people watch your stream.
Step 4: Automating Stream Notifications
Want to auto-alert your site visitors when you go live? You’ve got options:
| Method | Pros | Cons |
|---|---|---|
| Twitch API Webhooks | Instant, real-time updates | Requires backend setup |
| Discord Bots | Notifies your Discord community | Only works for Discord users |
| WordPress Plugins | Simple, no coding needed | Limited customization |
For a smooth experience, consider using Twitch’s official API to trigger notifications on your site.
Step 5: Customizing the Look & Feel
Raw embeds work, but custom styling makes them shine. Some quick tweaks:
- Dark Mode Compatibility – Make sure the Twitch embed doesn’t clash with your site’s theme.
- Custom Overlays – Add your branding over the Twitch player.
- Mobile Optimization – Ensure embeds resize properly for mobile visitors.
Integrating Twitch into your website is a no-brainer if you want a more interactive, immersive gaming hub. It keeps visitors engaged, boosts your brand, and gives your audience a seamless way to watch and chat—all without leaving your site.
Want to explore more about Twitch integrations? Check out the Twitch Developer Documentation for deeper customization options.
Now, go flex that new Twitch-powered site and get those views rolling!